Creating Empty Images and Metadata
Creating Empty, OME-Compliant Image Arrays and Metadata
OMIO provides utility functions called create_empty_image, create_empty_metadata,
and update_metadata_from_image to create empty, OME-compliant image arrays and metadata
dictionaries based on user-defined specifications.
import omio as om
import numpy as np
import os

my_image, my_metadata = om.create_empty_image(return_metadata=True)
print(f"Created empty image with shape: {my_image.shape}, "
      f"dtype {my_image.dtype} and axes {my_metadata.get('axes', 'N/A')}."
>>>
Created empty image with shape: (1, 1, 1, 1, 1), dtype uint16 and axes TZCYX.
Without providing any arguments, create_empty_image creates a default empty image
with shape (1, 1, 1, 512, 512) and dtype uint16. The axes are OME-compliant TZCYX.
With the optional argument return_metadata=True (default is False), the associated
metadata dictionary is also returned.
You can customize the created empty image by providing the desired shape and dtype
as arguments:
my_image, my_metadata = om.create_empty_image(
    shape=(5, 10, 512, 512),
    dtype=np.uint16,
    return_metadata=True)

print(f"Failed to create empty image. Type of my_image is {type(my_image)} "
      f"and of my_metadata {type(my_metadata)}.")
>>>
Failed to create empty image. Type of my_image is <class 'NoneType'> and of my_metadata <class 'NoneType'>.
The attempt above fails because the provided shape has only 4 dimensions instead of the
required 5 dimensions for OME-compliant images. In such cases, OMIO will raise a warning
and return None for both image and metadata.
my_image, my_metadata = om.create_empty_image(
    shape=(5, 20, 2, 512, 512),
    dtype=np.uint16,
    return_metadata=True)

print(f"Created empty image with shape: {my_image.shape}, "
      f"dtype {my_image.dtype} and axes {my_metadata.get('axes', 'N/A')}.")
>>>
Created empty image with shape: (5, 20, 2, 512, 512), dtype uint16 and axes TZCYX.
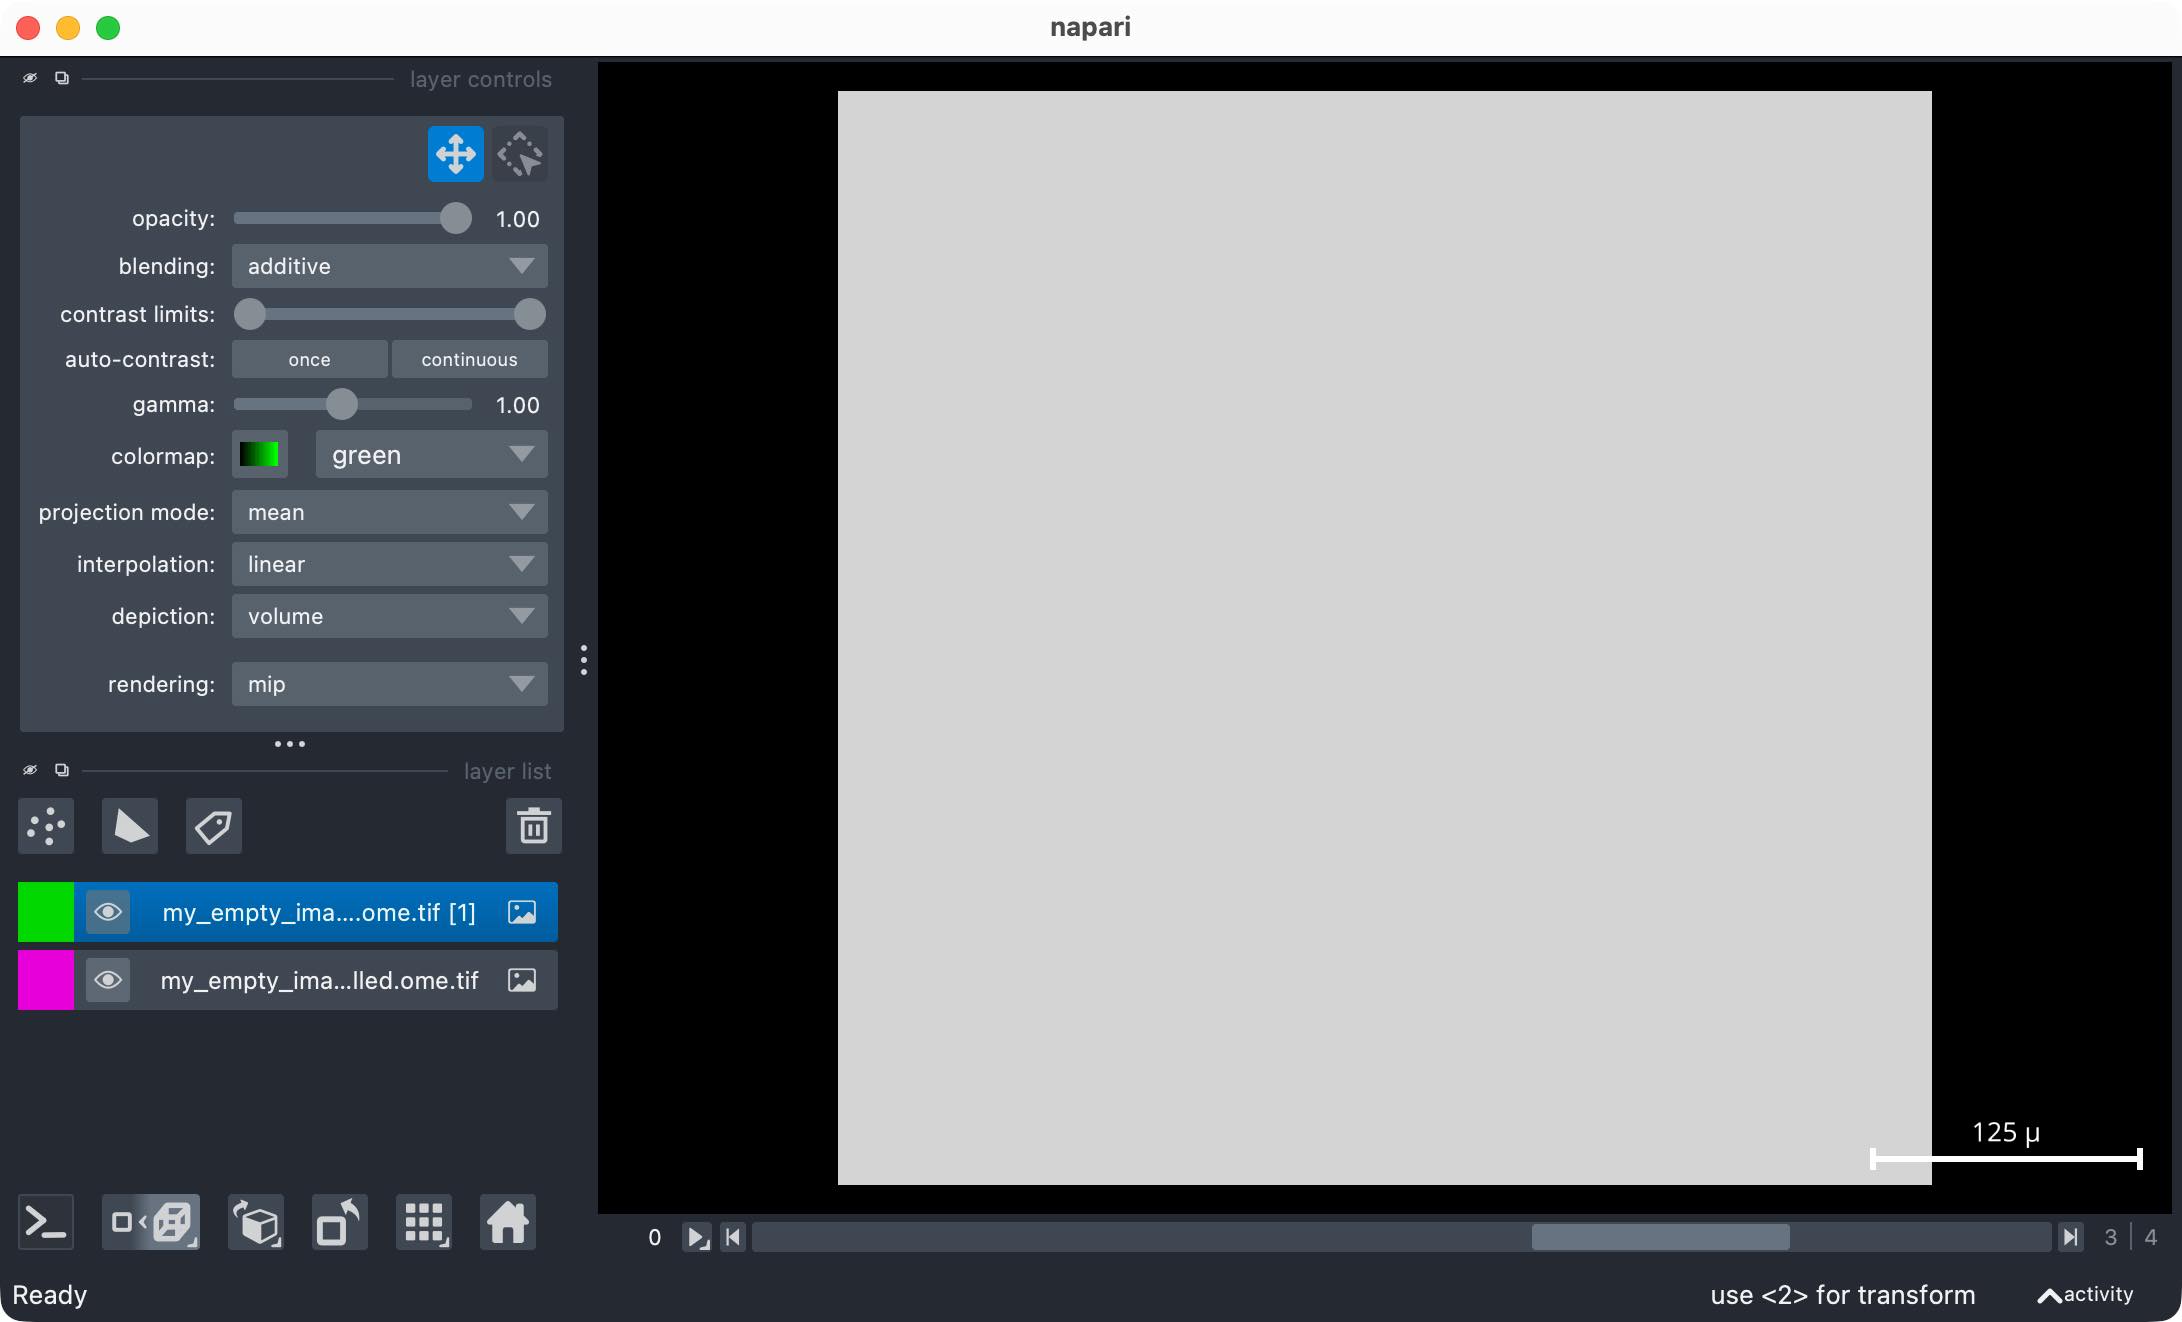
You can now manipulate the created empty image as needed:
# for each timepoint, z-slice and channel, we fill the slice with an increasing integer value:
for t in range(my_image.shape[0]):
    for z in range(my_image.shape[1]):
        for c in range(my_image.shape[2]):
            my_image[t, z, c, :, :] = t * 100 + z * 10 + c

pathname_save = "example_data/custom_created_images/"
os.makedirs(pathname_save, exist_ok=True)

om.imwrite(
    os.path.join(pathname_save, "my_empty_image_filled.ome.tif"),
    my_image, my_metadata)

read_my_image, read_my_metadata = om.imread(
    os.path.join(pathname_save, "my_empty_image_filled.ome.tif"))

om.open_in_napari(read_my_image, read_my_metadata,
     os.path.join(pathname_save, "my_empty_image_filled.ome.tif"))
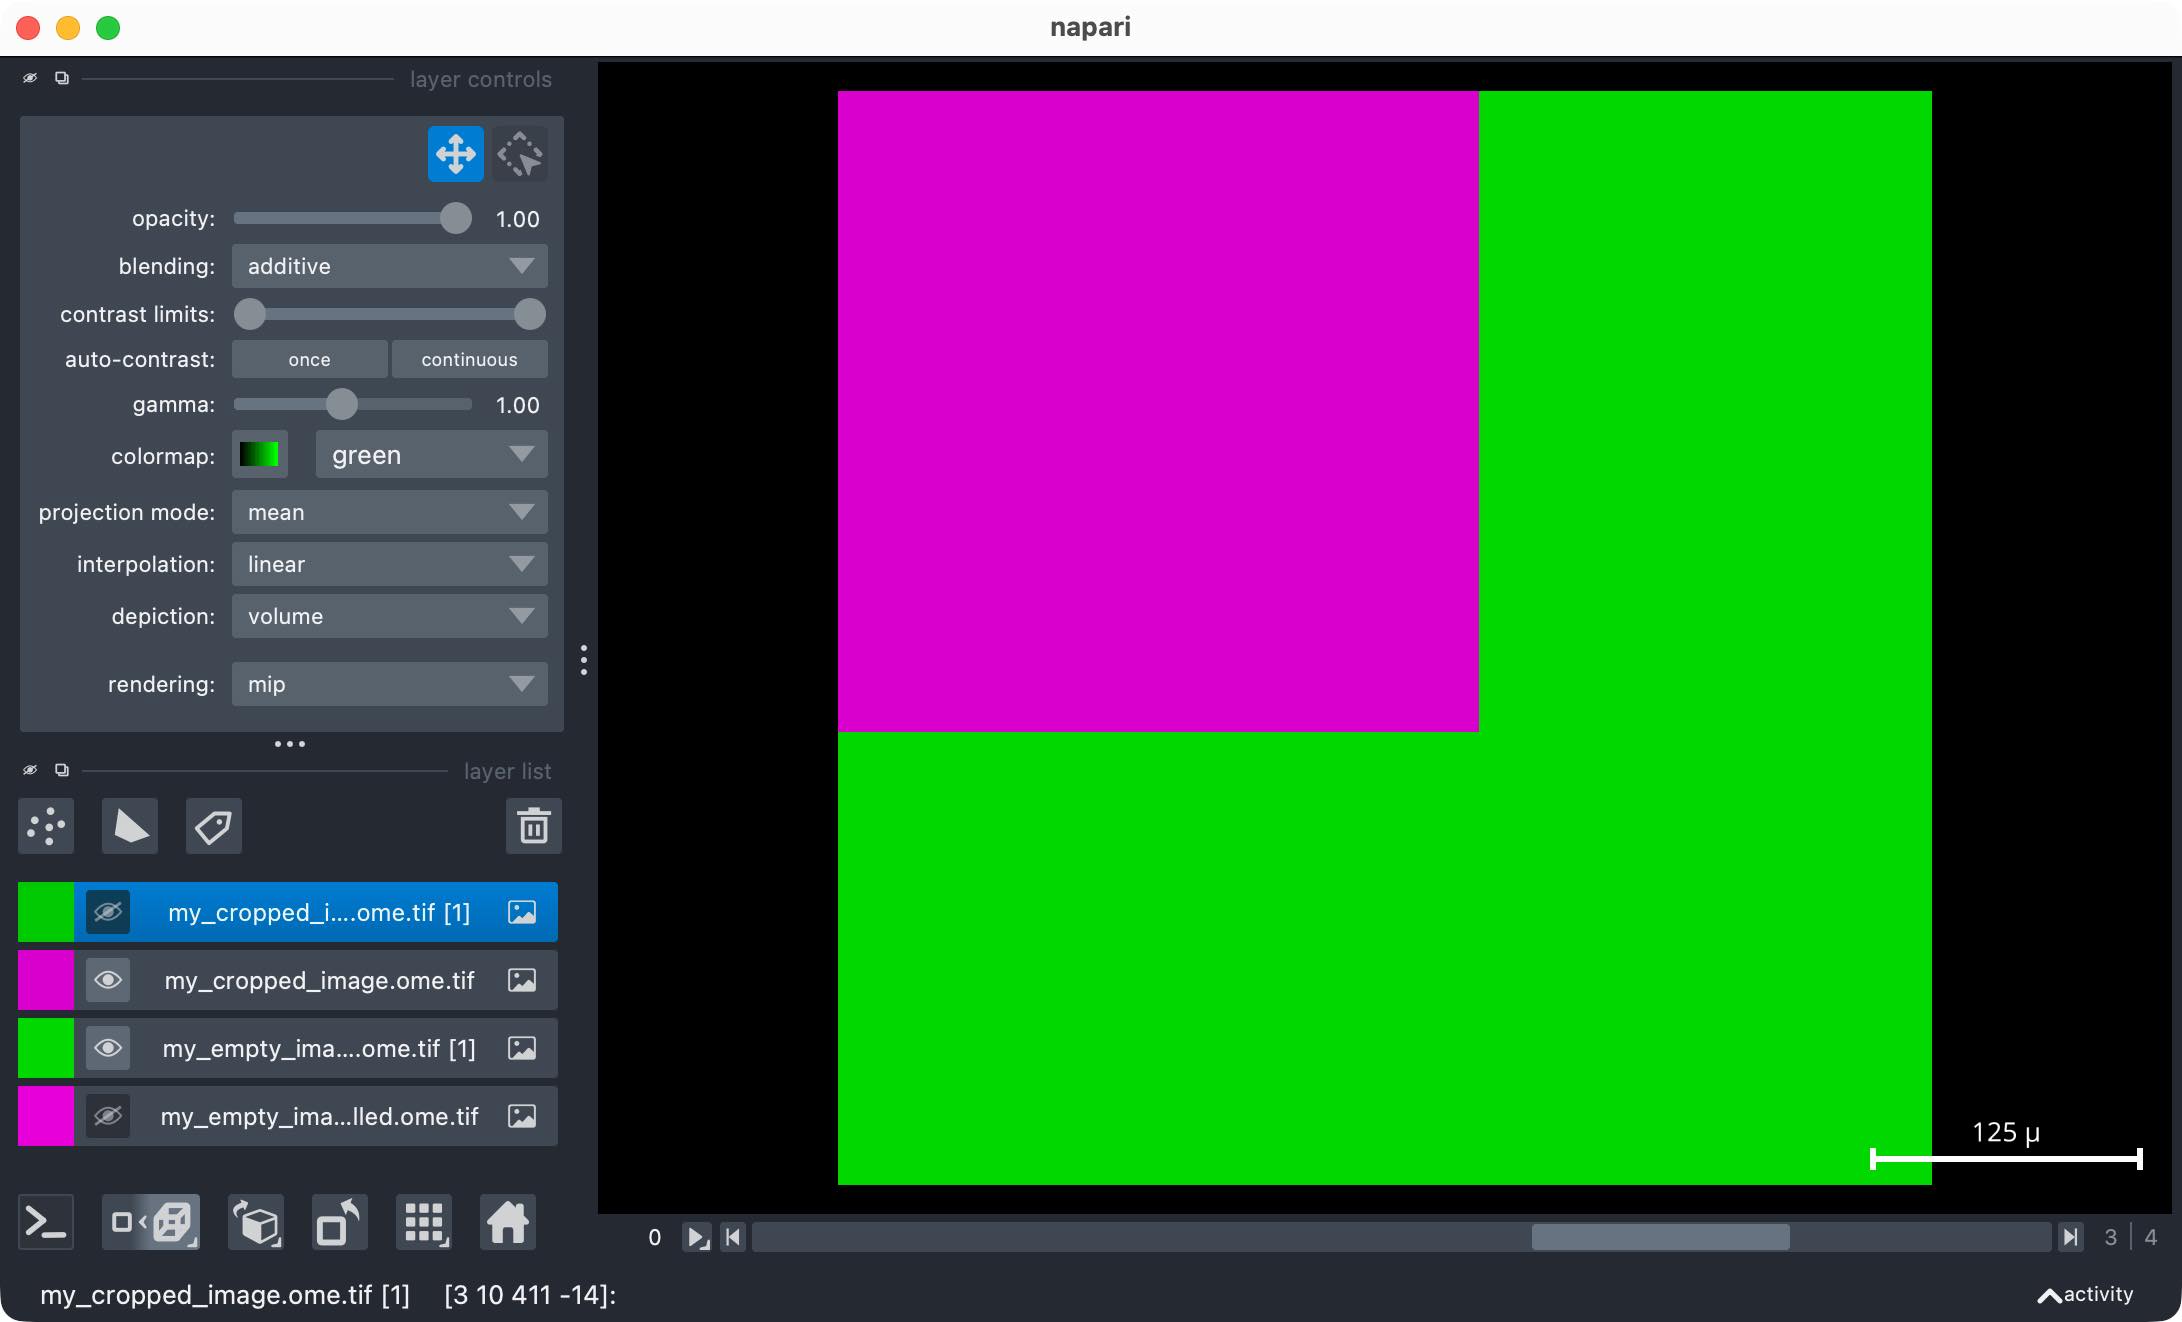
When changing the image shape, for example by cropping or padding the stack,
my_cropped_image = my_image[:, 2:8, :, 100:400, 100:400]  # crop Z and spatial dimensions
print(f"Cropped image shape: {my_cropped_image.shape}")
>>>
Cropped image shape: (5, 6, 2, 300, 300)
you need to update the associated metadata dictionary accordingly. You can do so
by manually updating the relevant metadata entries, or by using OMIO’s utility function
update_metadata_from_image:
my_cropped_metadata = om.update_metadata_from_image(
    my_metadata,
    my_cropped_image)

print(f"Updated cropped image metadata axes: "
      f"{my_cropped_metadata.get('axes', 'N/A')} "
      f"with shape: {my_cropped_image.shape}.")

om.imwrite(
    os.path.join(pathname_save, "my_cropped_image.ome.tif"),
    my_cropped_image,
    my_cropped_metadata)

read_my_cropped_image, read_my_cropped_metadata = om.imread(
    os.path.join(pathname_save, "my_cropped_image.ome.tif"))

om.open_in_napari(
    read_my_cropped_image,
    read_my_cropped_metadata,
    os.path.join(pathname_save, "my_cropped_image.ome.tif"))
>>>
Updated cropped image metadata axes: TZCYX with shape: (5, 6, 2, 300, 300).